Treat attendees to a seamless experience.
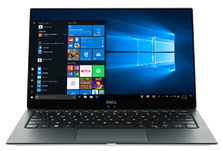
PC or Mac
Join with a PC or Mac. This allows you to interact and move through the space using standard keyboard and mouse controls.
Modern Web Browser
Join with any modern web browser for an easy and convenient viewing experience. Explore a space by clicking and dragging to look around.
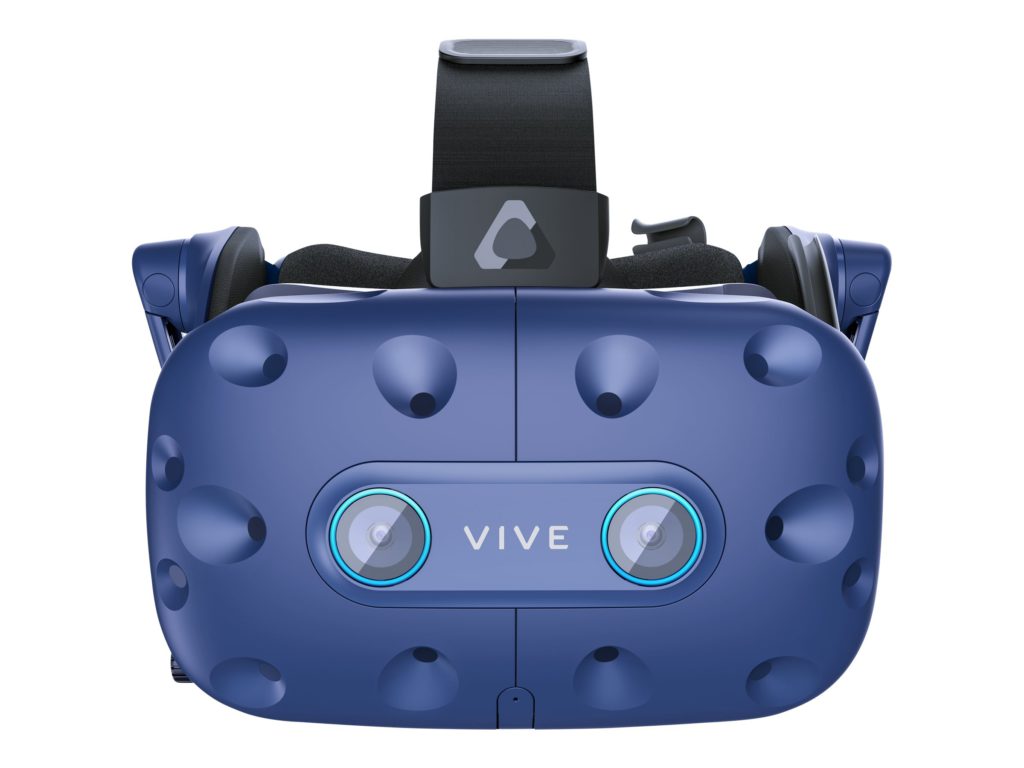
PC VR (Vive or Rift)
Join with a VR headset for a complete, immersive experience. For more information on compatible VR headsets, click here.
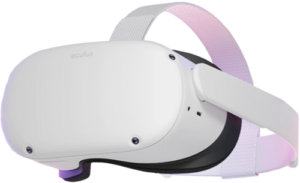
Meta Quest
Join with a mobile VR headset. All-in-one wireless headset.
Step 1 - Download the app
The app can be downloaded here. Please note, that this is in beta and we are currently making frequent updates. You may need to update the app to the latest version to connect with people online.
Step 2 - Create or Join a Room
Once you have launched the app, you will find a lobby room that allows you to login, create or join a room, choose an avatar, and select a scene. Simply follow the menu options until you have loaded the scene.
Without an account, you will be able to join rooms, but not create them. To create a room, you will first need an account.
Use the following link to register a new account:
You will receive an email with a link. Click the link to verify the account. If you don’t see the email, please check your spam folder.
Step 3 - Invite your friends
Once you have created your first room, you are free to explore the many features we have enabled, like virtual video conferencing, whiteboards, or upload your files including movies, images, or 3D files . Your room is accessible through a link which you can share from your web dashboard, text or email your room code to others.
Your Content Goes Here
Your Content Goes Here
Your Content Goes Here
Your Content Goes Here
Your Content Goes Here
Step 1
Your Content Goes Here
Step 2
Your Content Goes Here
Step 3
Your Content Goes Here
Step 4
Temp content
Step 5
Your Content Goes Here
Step 1
[on your Smartphone device that was used to set up your Quest] Open the Oculus app
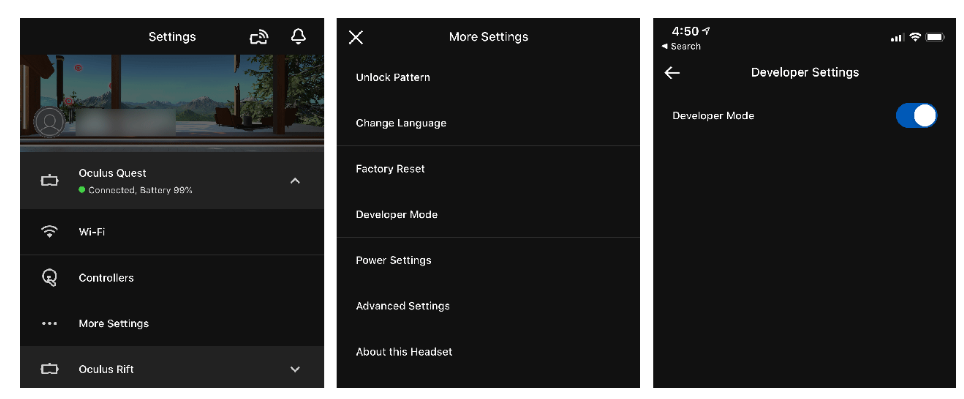
Step 2
Enable Developer mode on your Oculus Quest
a. Tap Settings (bottom-right)
b. Select your connected Oculus Quest from the device list and connect to it
c. Tap More Settings which appears below your Oculus Quest in the device list
d. Tap Developer Mode. If this step hangs up, gets stuck or does not work please follow Step 3a-f below
e. Tap the switch to enable developer mode
f. Exit Settings on the app & reboot your Oculus Quest using the right-side power button
Step 3
[If this is the 1st time you are using developer mode, finish Step 3. Otherwise, skip to Step 4]
Create an Oculus Organization
a. On your smartphone or desktop, open up a new web browser window
b. Log in to your Oculus account via http://dashboard.oculus.com
c. Create a new organization
d. Enter your desired organization name & submit
e. Review and Accept the terms
f. Check your Oculus app on your smartphone, and go back to Step 2d -f above.
Step 4
Step 5
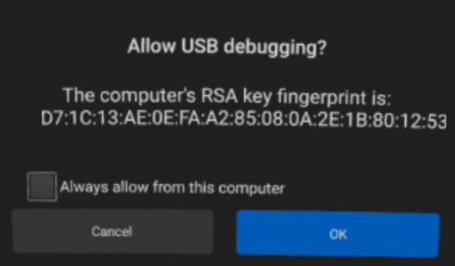
a. Connect your Oculus Quest to your computer with a USB-C data transfer cable
b. Check your Oculus Quest headset for a prompt.
c. Check the box for “Always allow from this computer”
d. Click OK
Step 6
Step 7
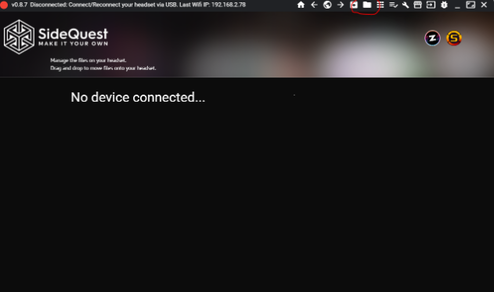
a. Install SideQuest to your computer.
b. Open SideQuest app
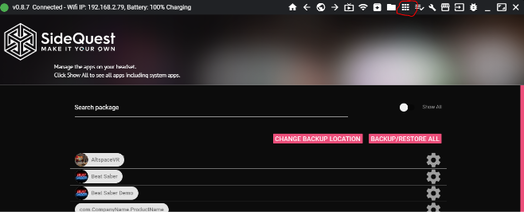
c. Make sure Oculus Quest is headset is connected by clicking on the folder on top, circled in red.
Step 8
Step 9
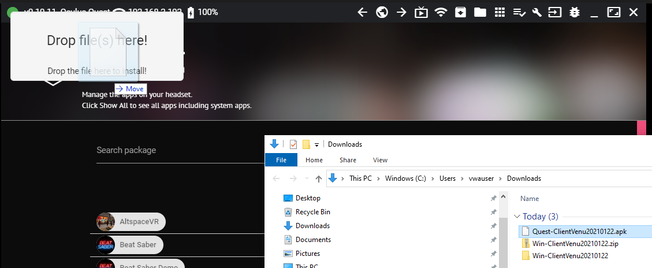
Drag & drop the downloaded Venu APK from Step 4 above into this Window or on top of the SideQuest logo
Step 10
Check tasks on SideQuest by clicking on the horizontal bars with a check mark (circled in red below).
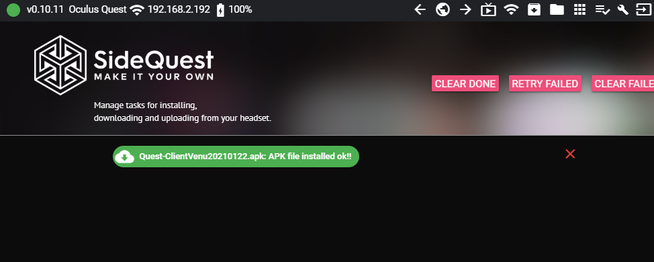
Wait until it provides a green colored bar in the center to indicate a successful install.
